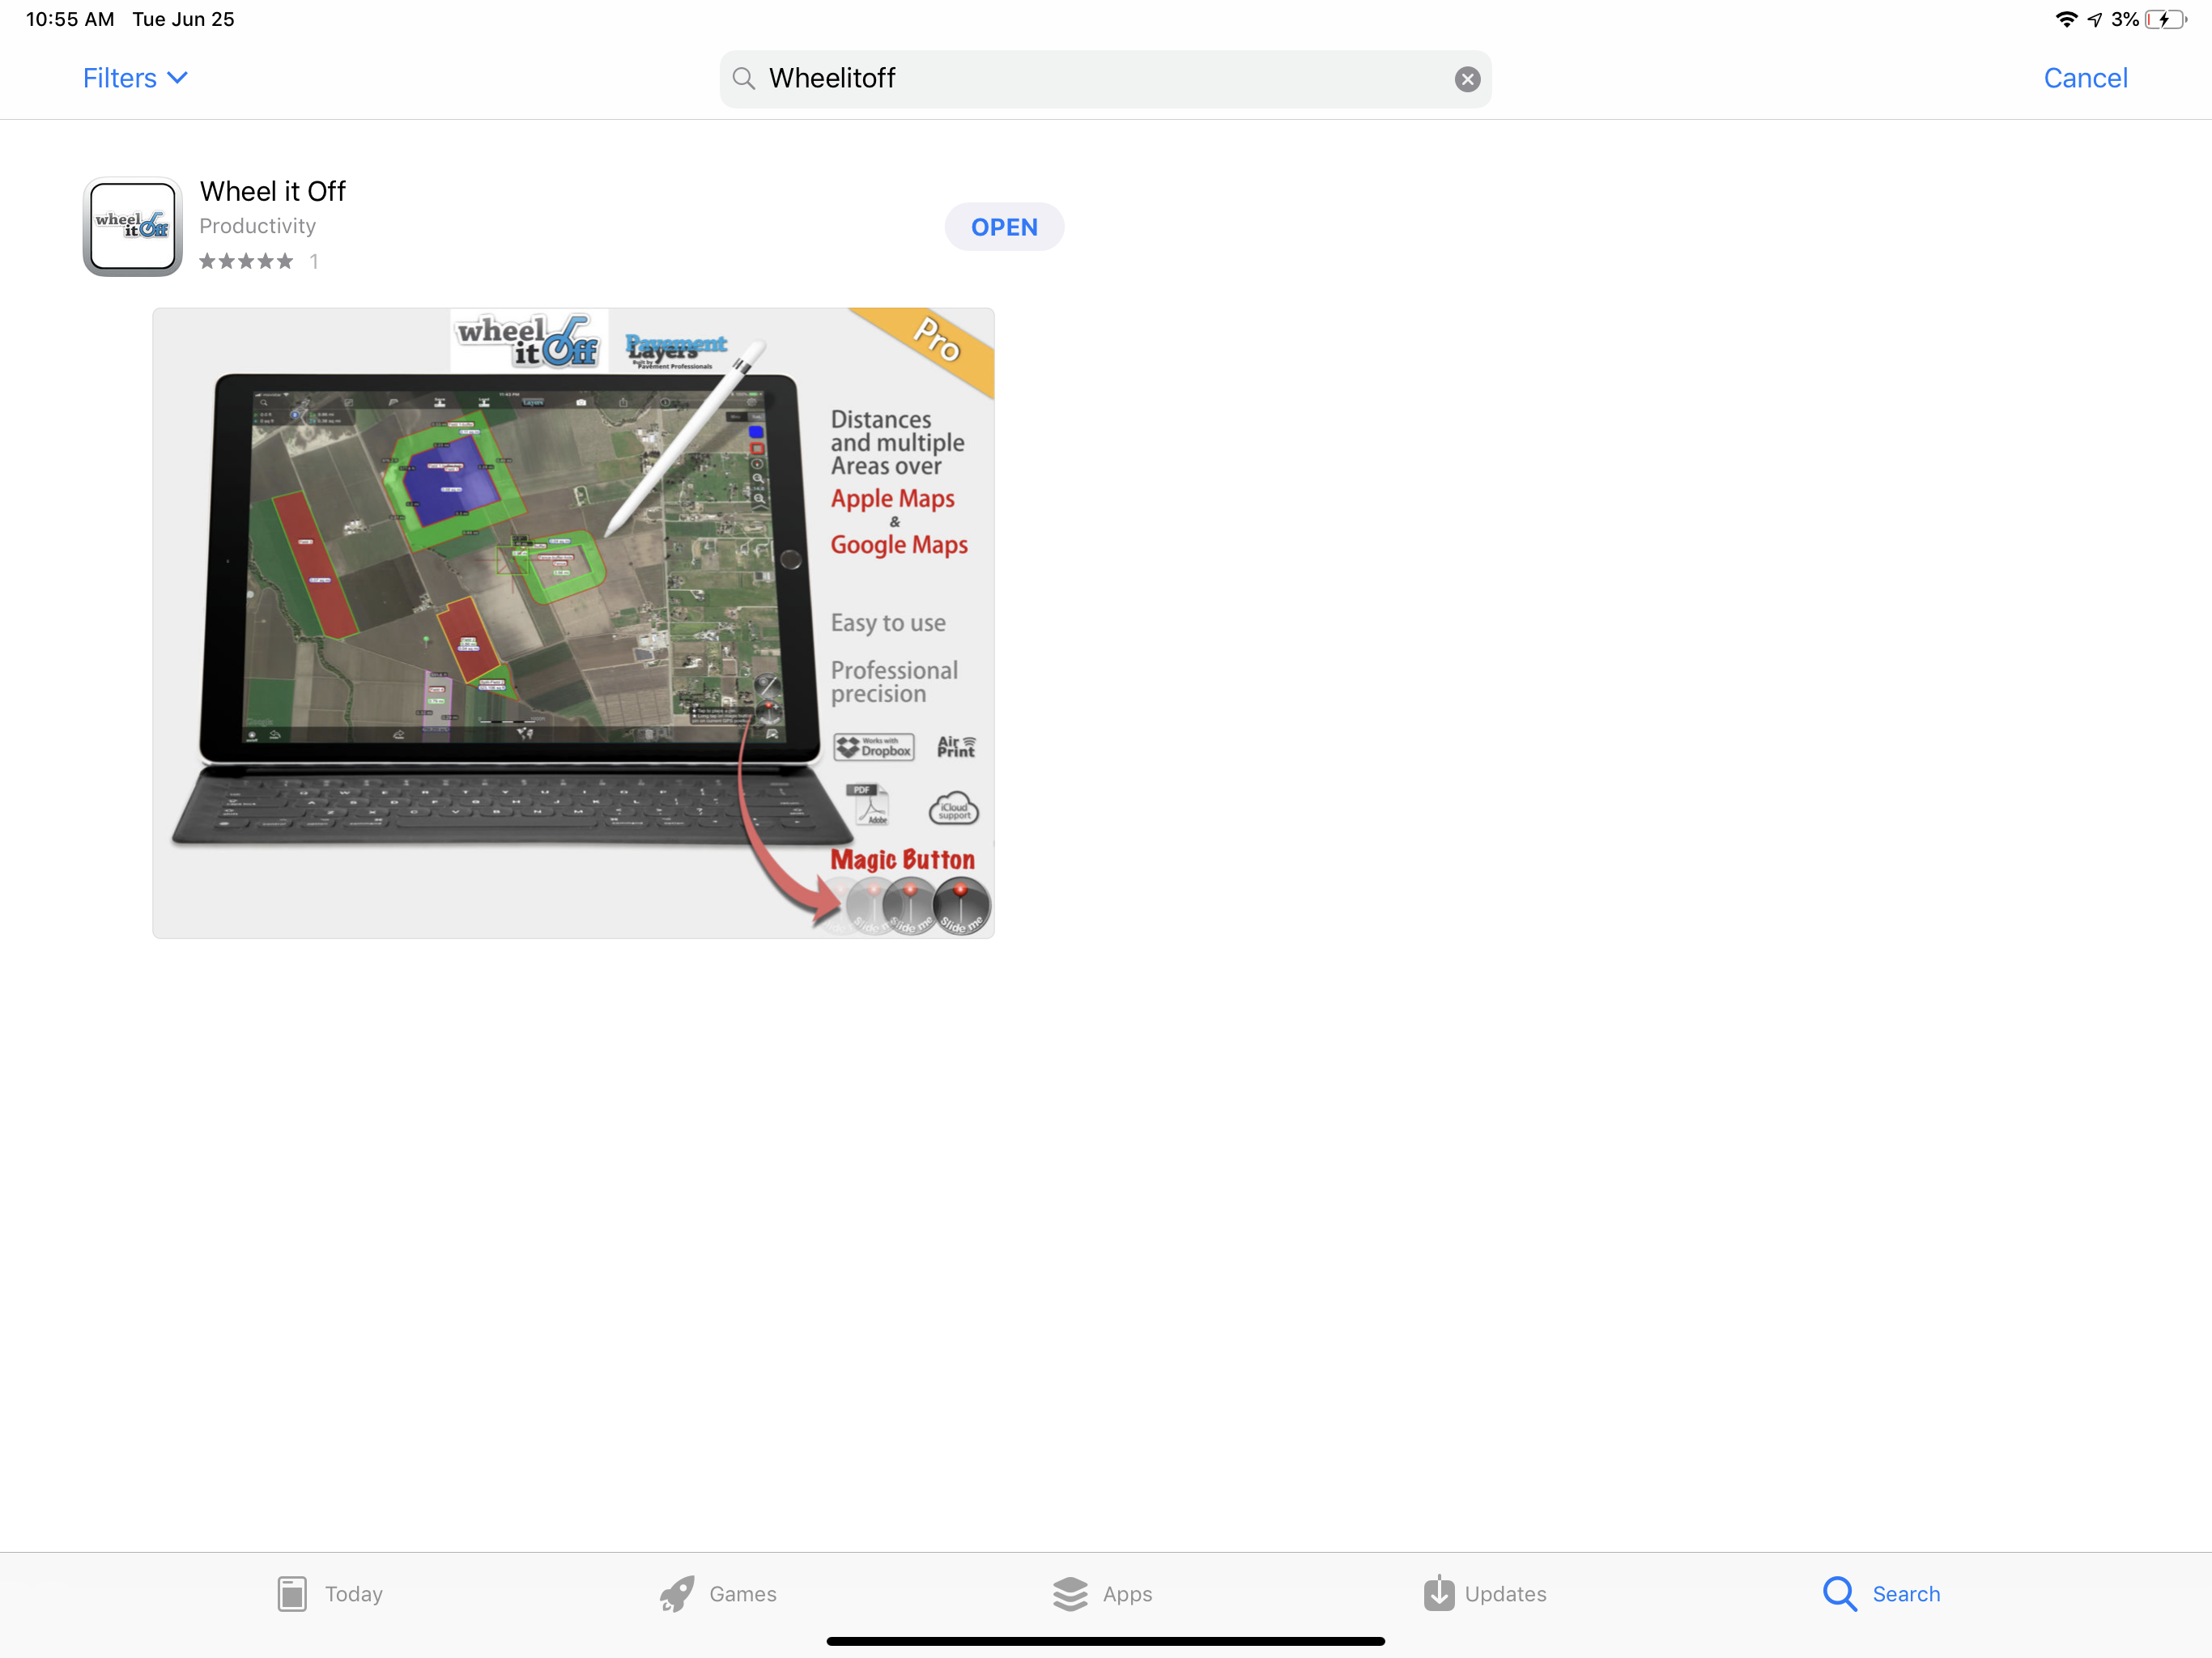
To begin, you will need to go to the Apple App Store and search WheelifOff. After this you will click "Purchase". After the app is done downloading, you will see an Icon on your device home screen, that reads "Whellitoff". Click on this Icon to open the application.
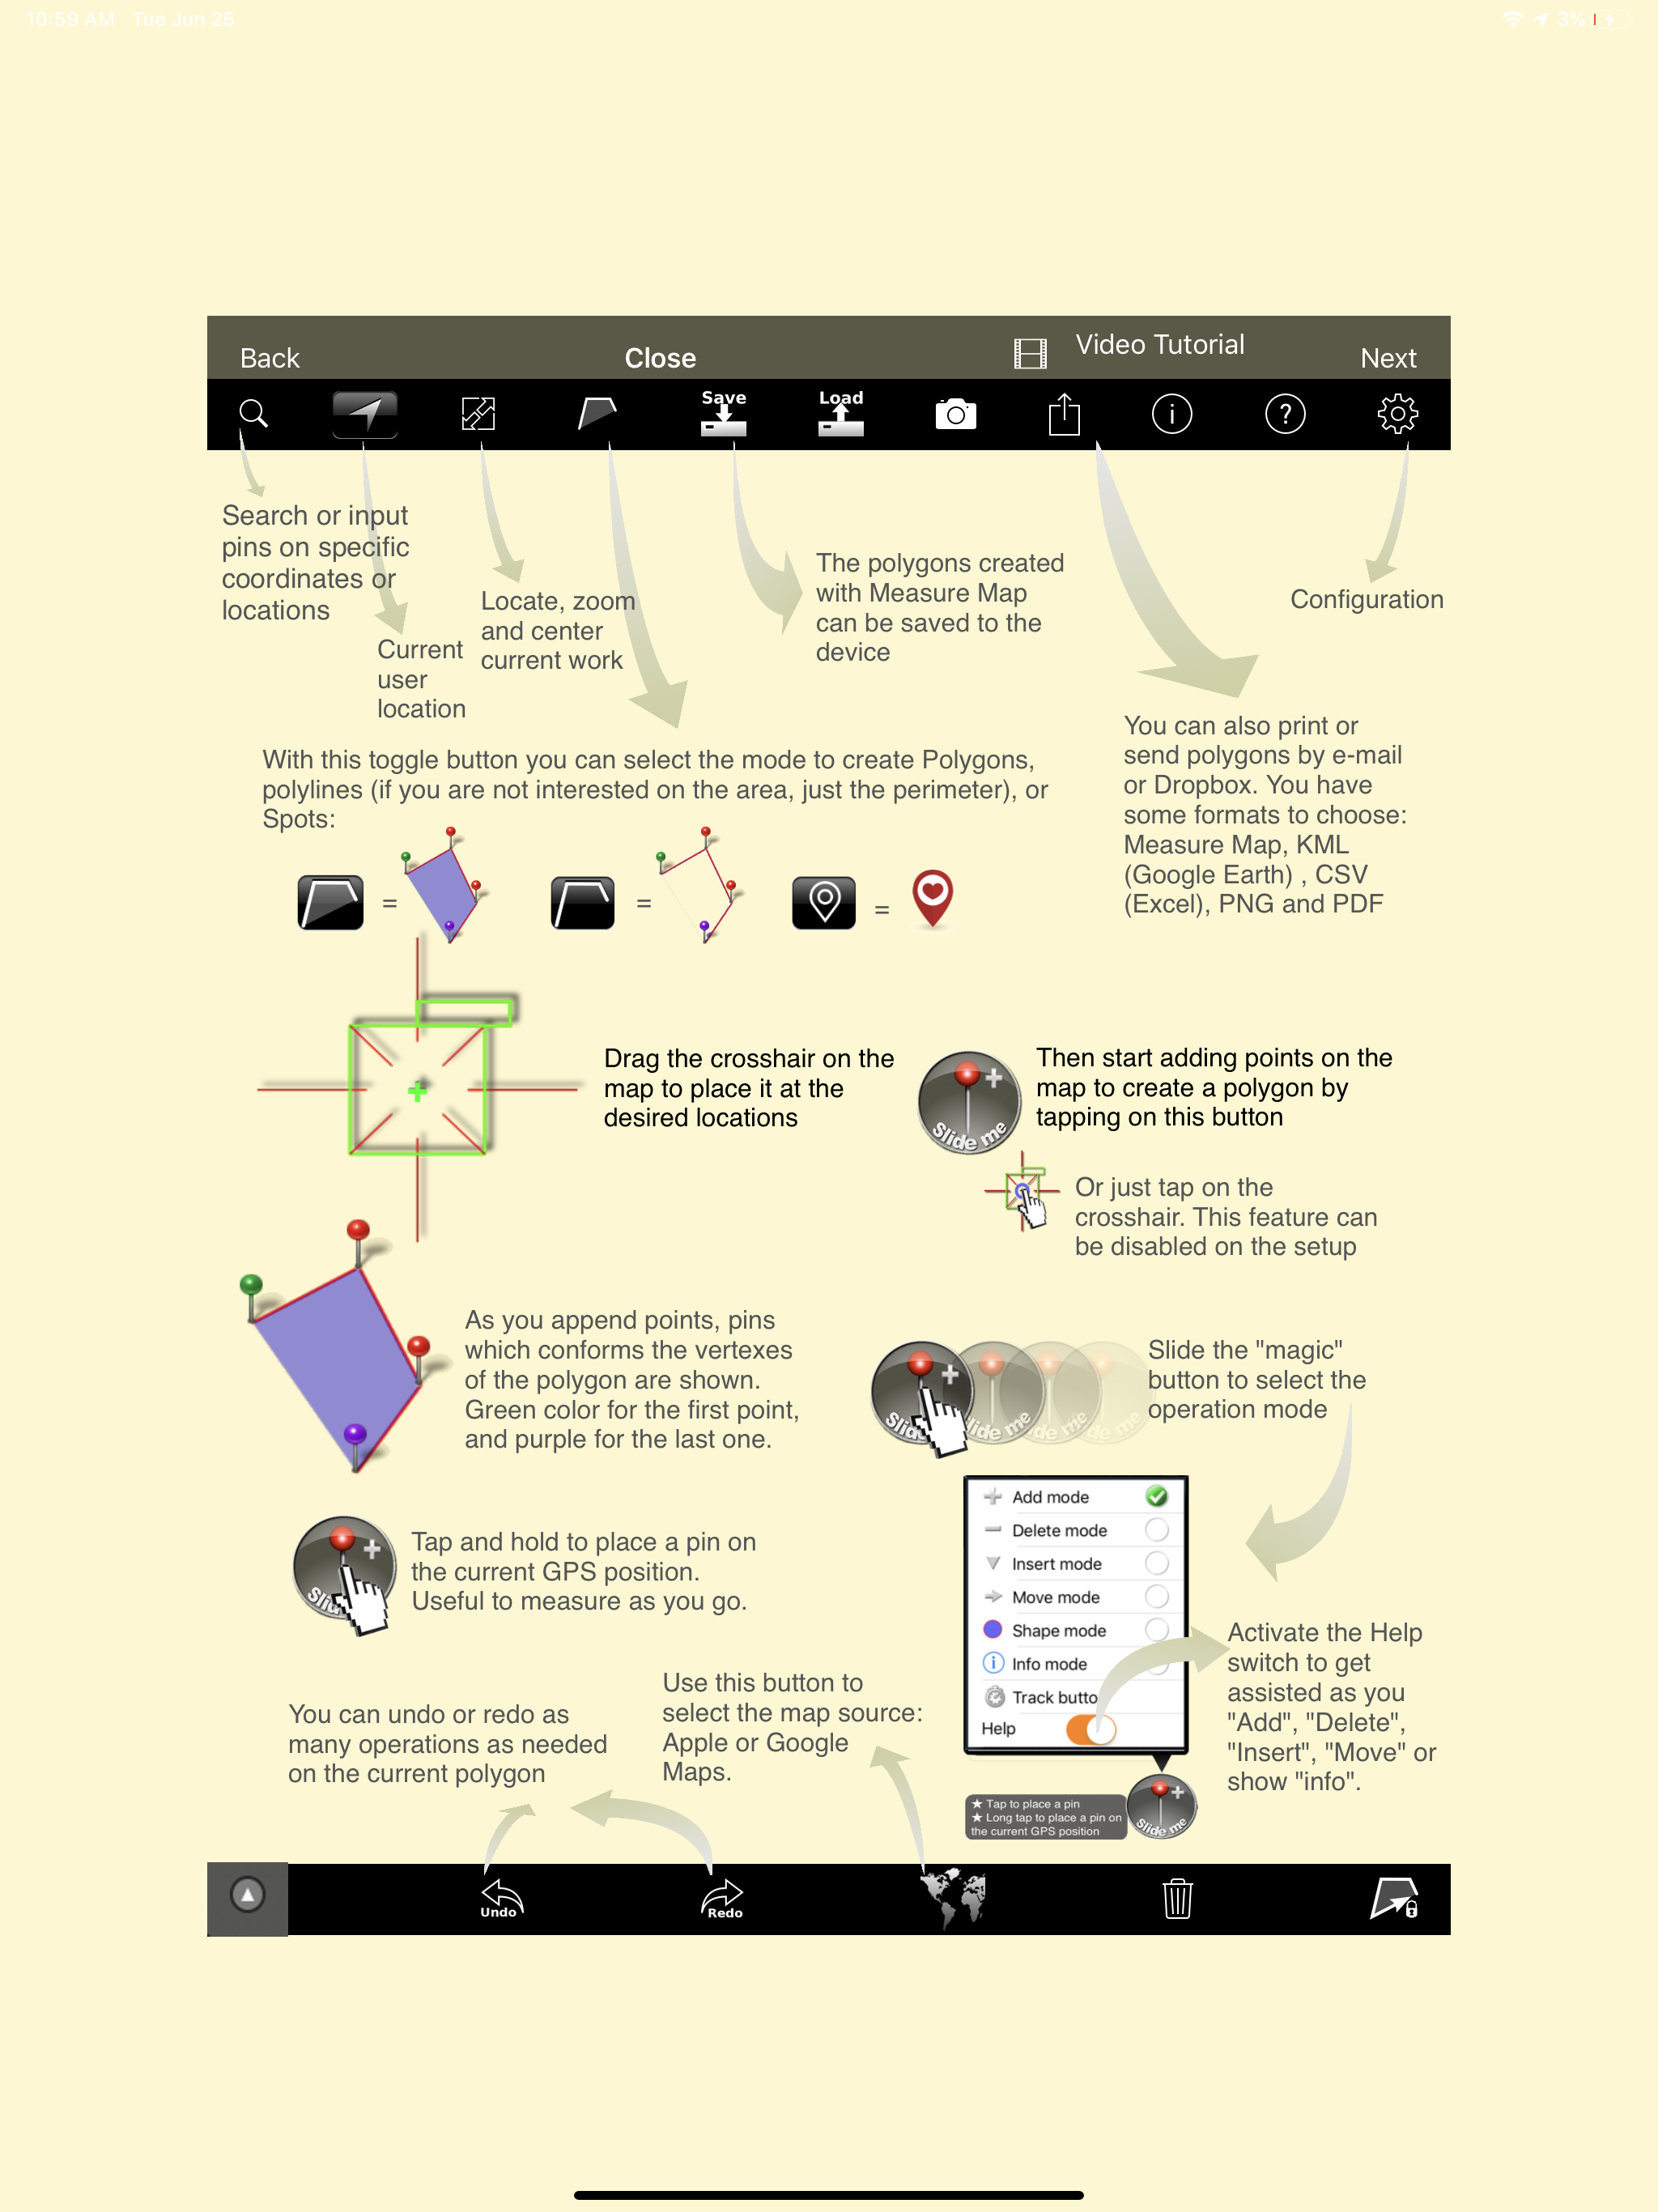
If you turn your iPad you will be able to see the app in portrait mode. If you click on the question mark in the top right of the screen, it will show you generally everything you want to see.
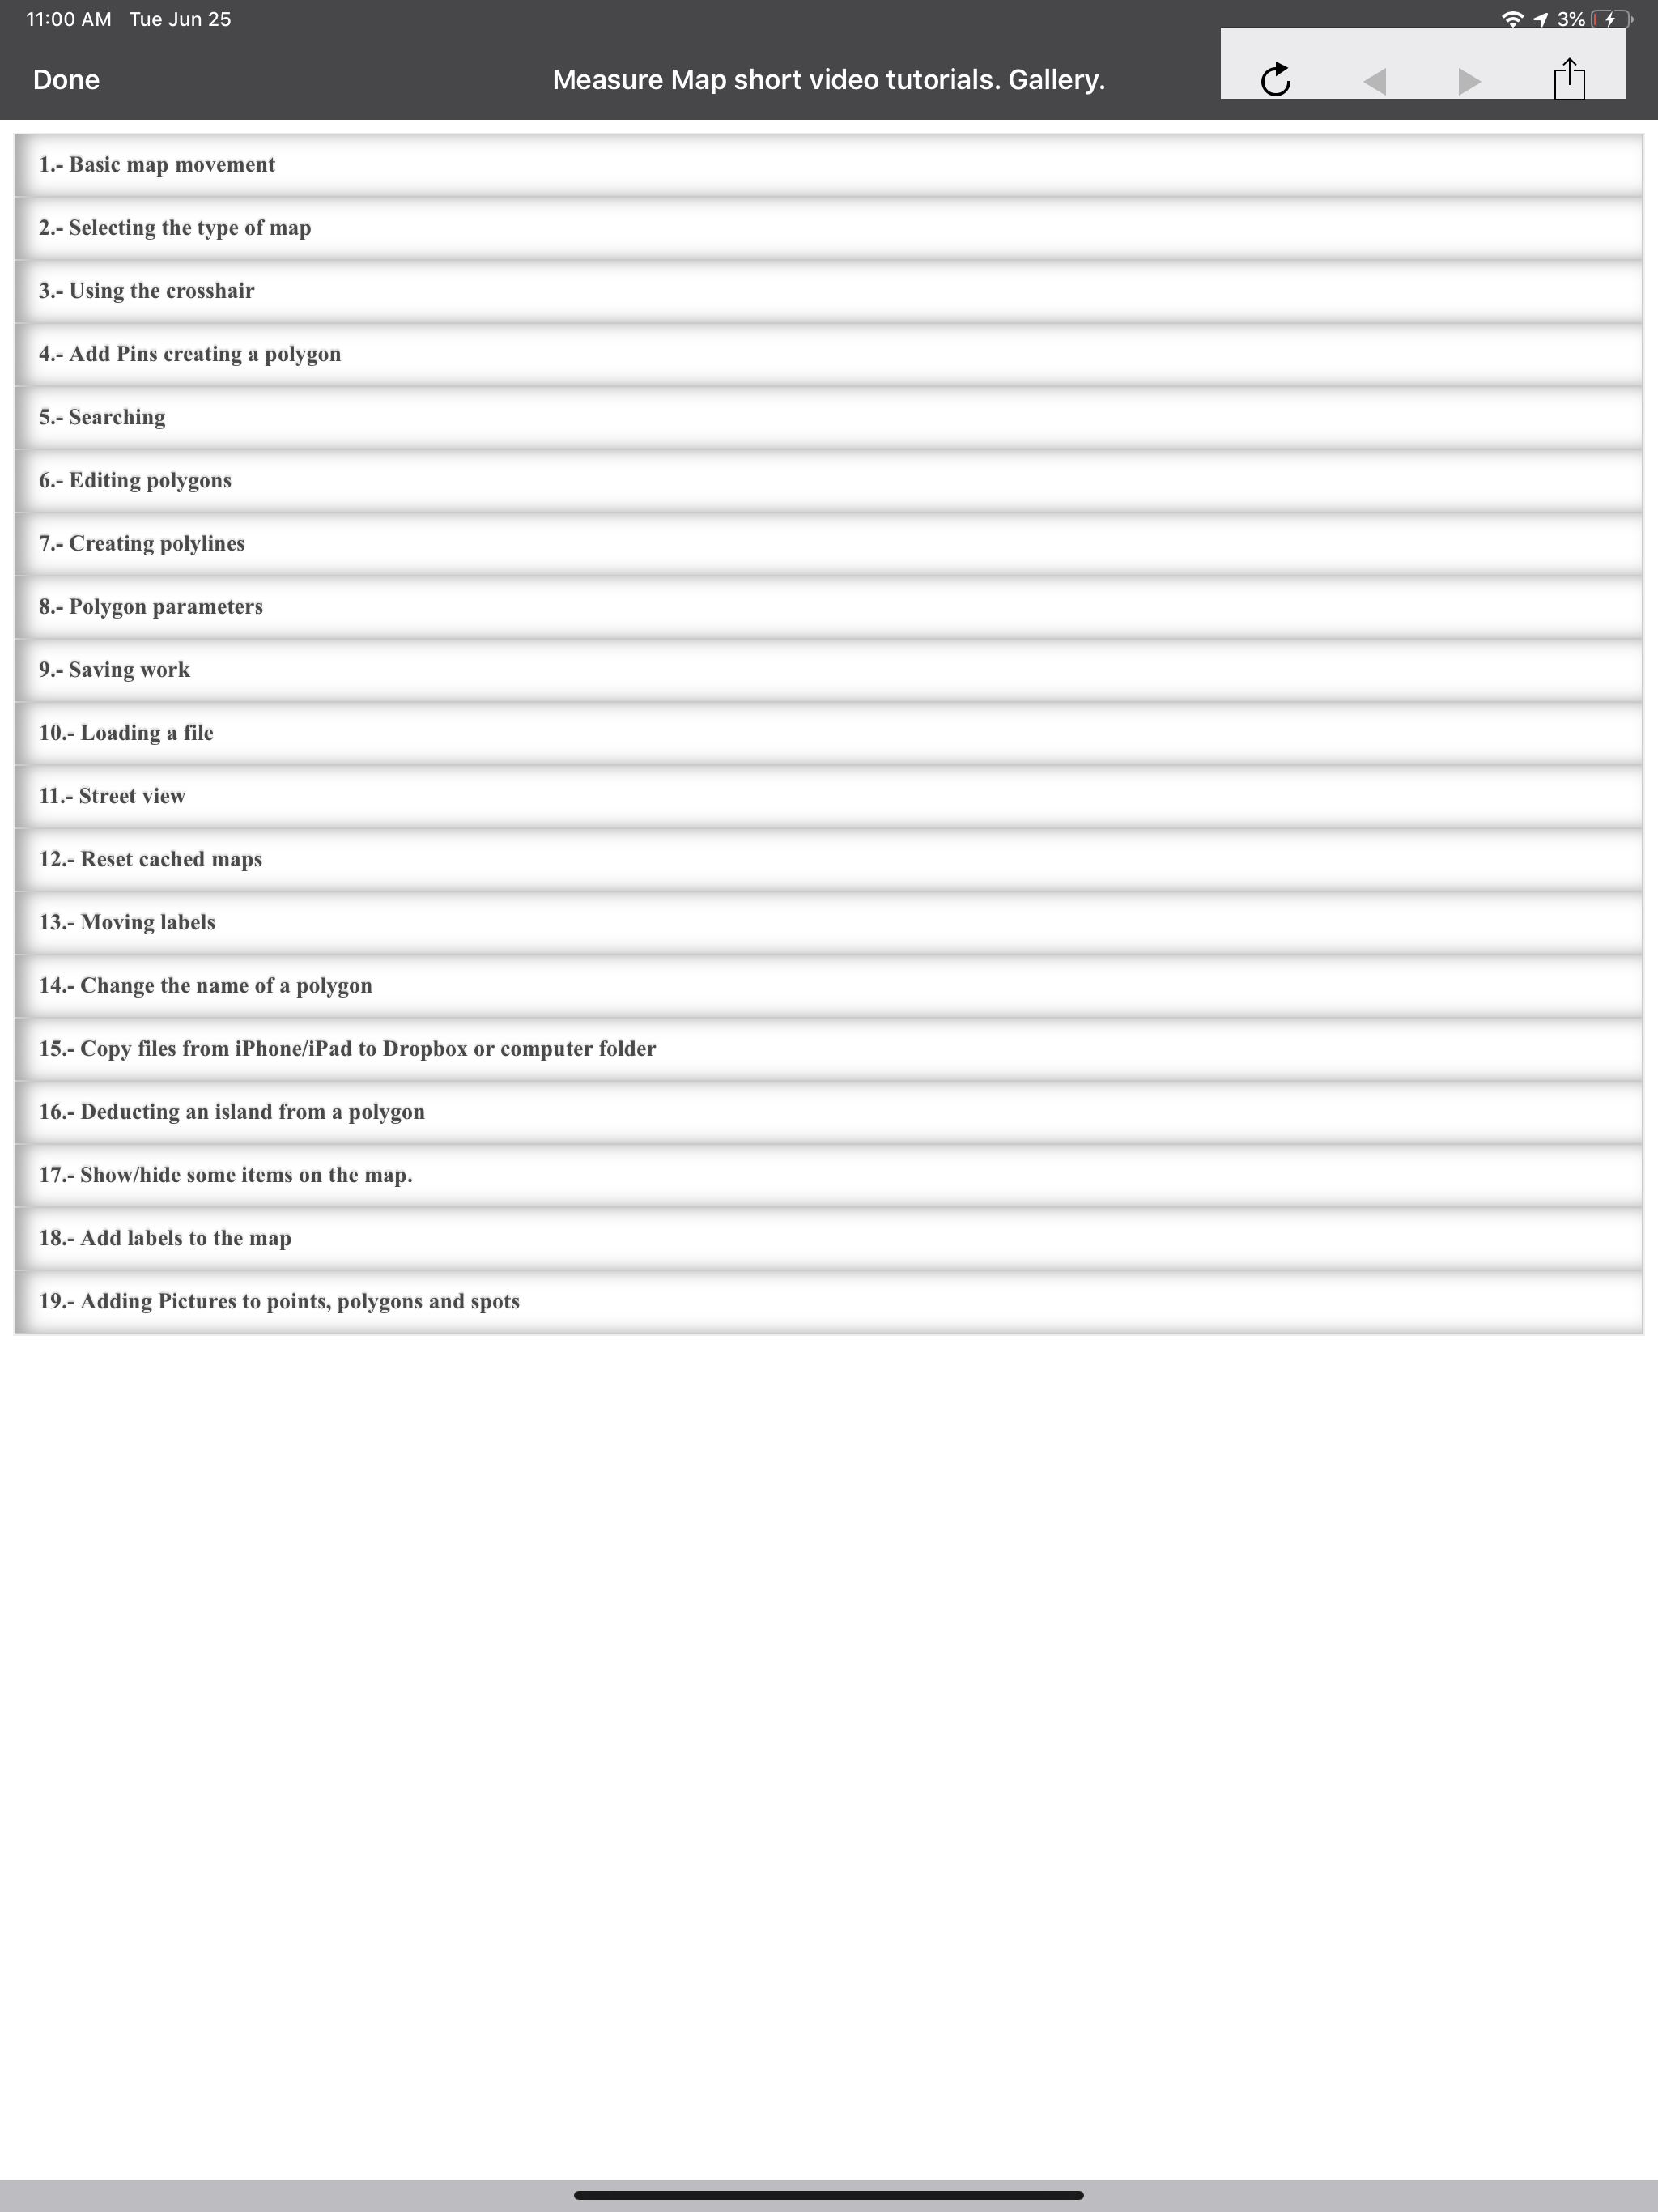
Right above that is a button that reads, "video tutorial". You will see a list of all the video tutorials that we have. If you click this you will see simple videos showing you how to do needed tasks on WheelitOff. Tap "Done" then "Close" to get back to the original page.
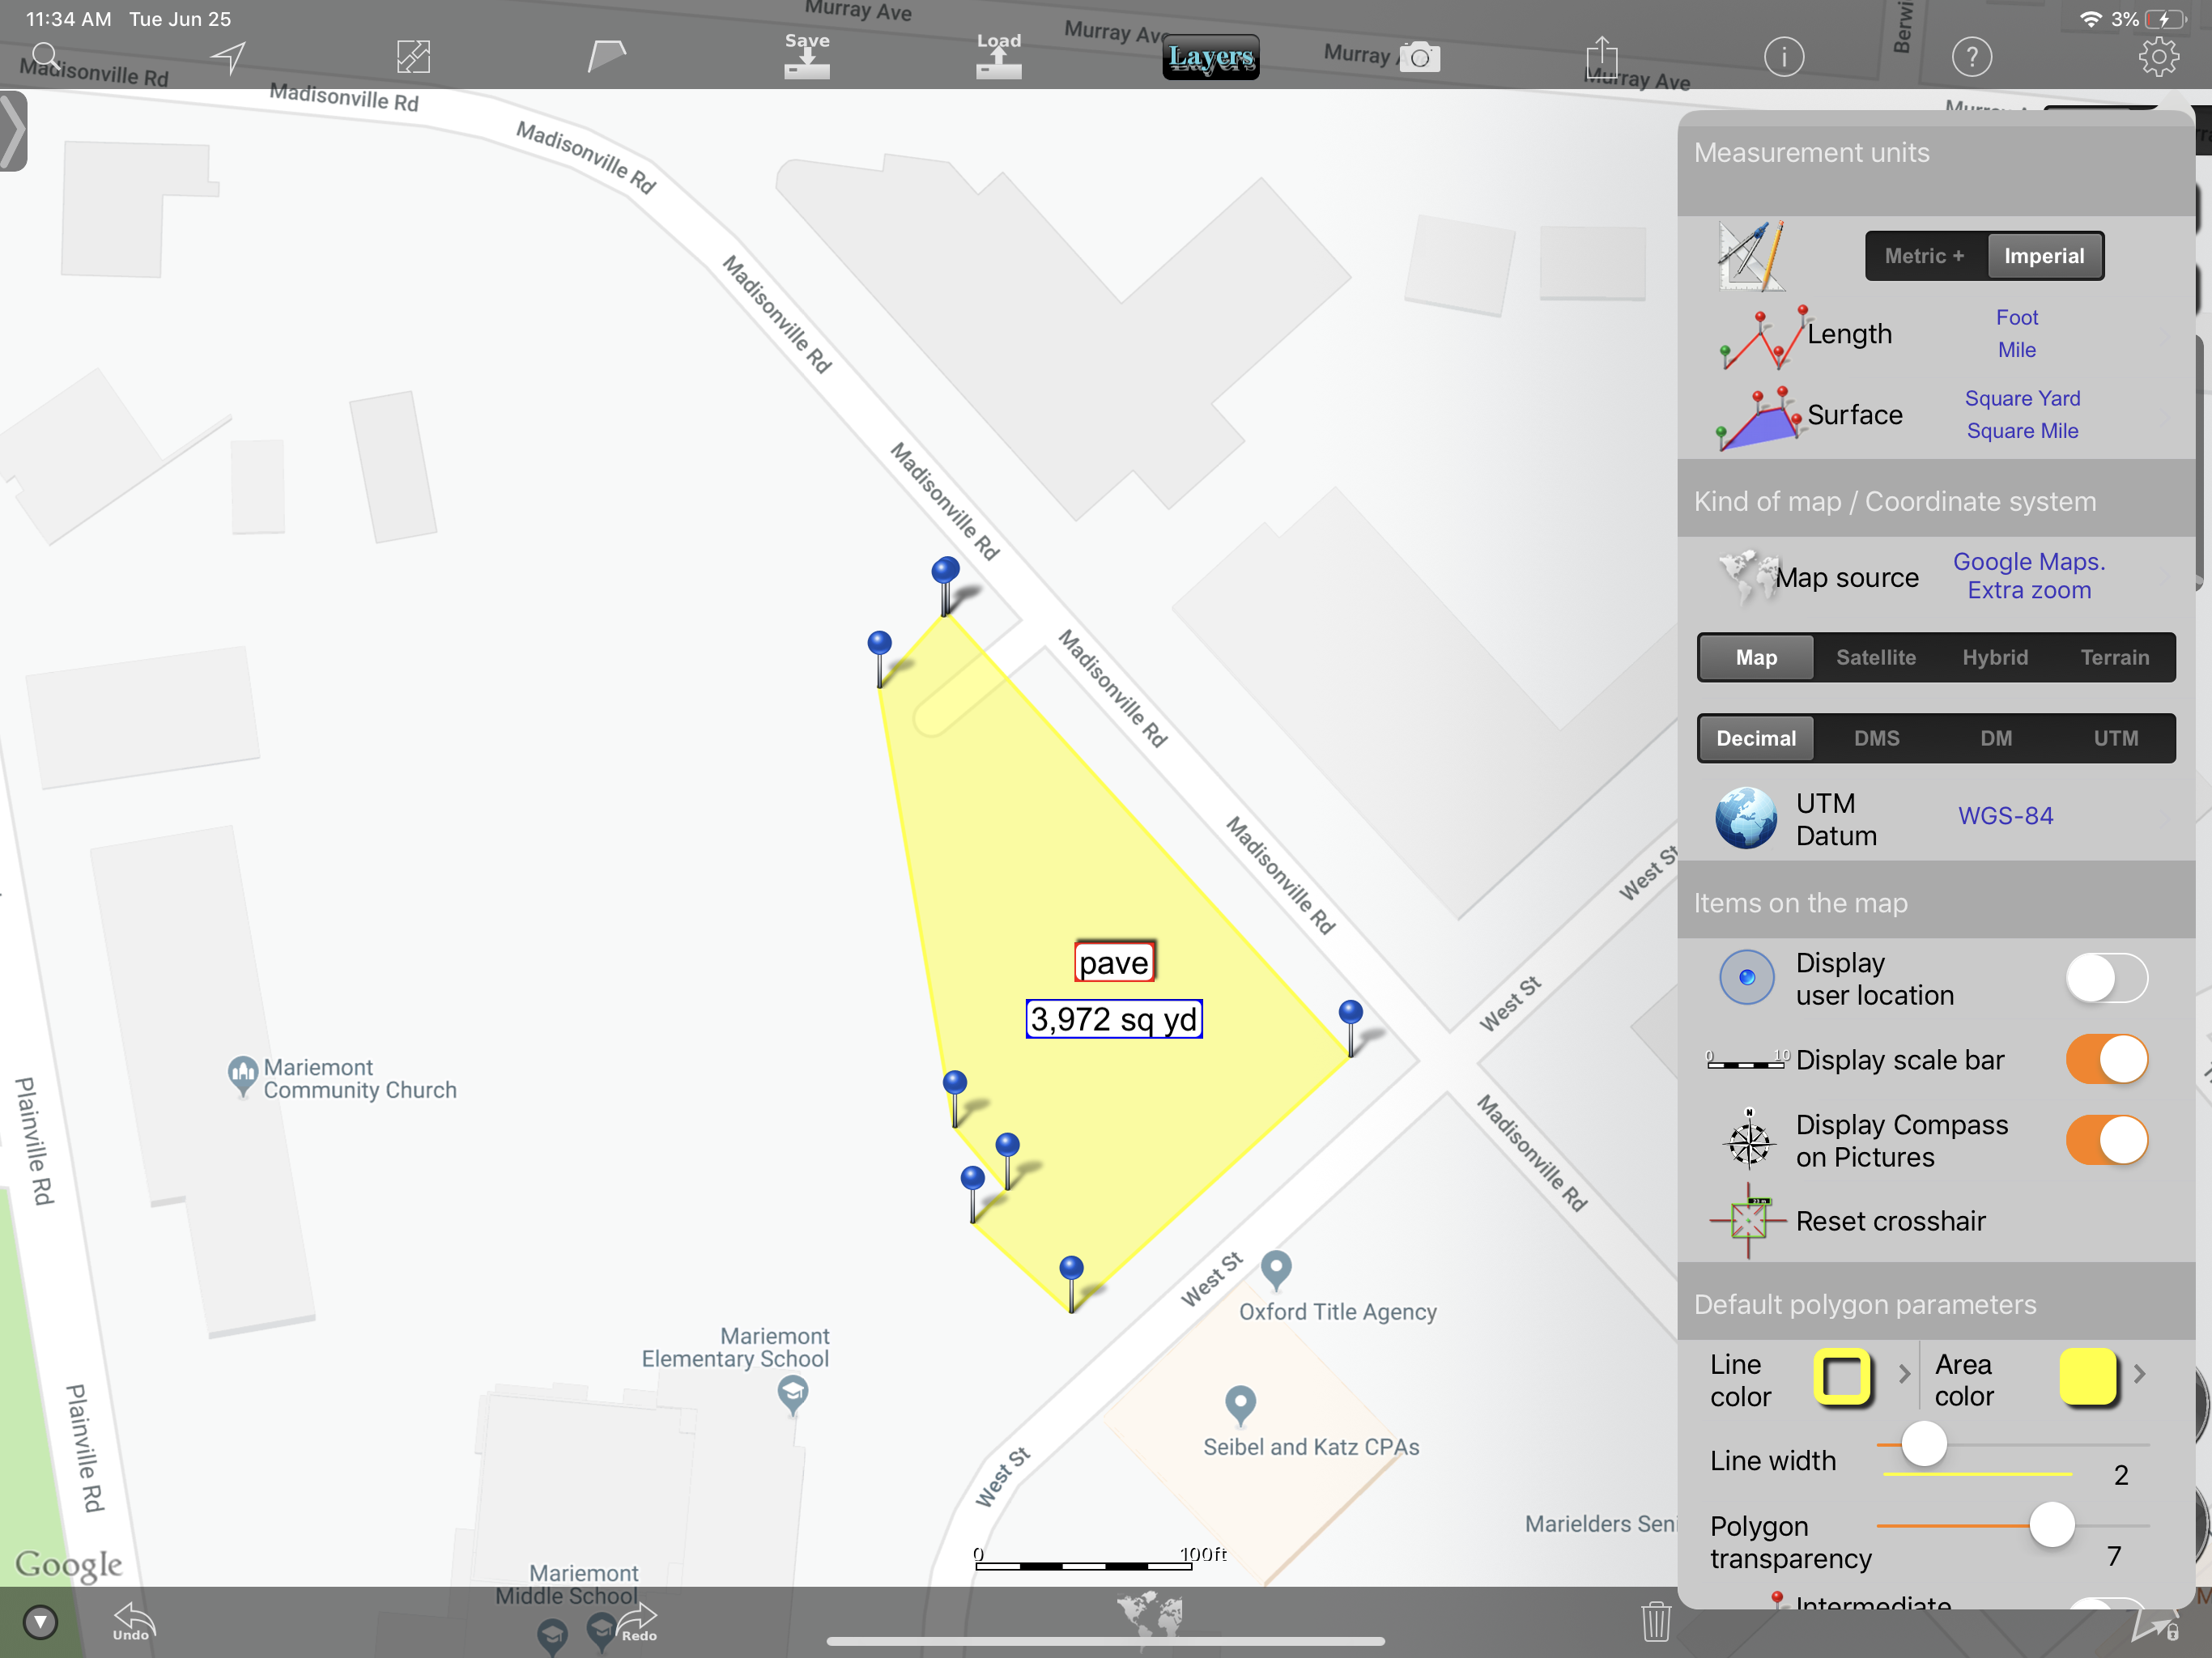
Click the gear symbol in the top right of the screen, to have show the many different options of what you can do. Here you are given the options to change measurement units, turn on and off user location, change text options, and change line options.
To see your crosshair, click on the button in the bottom left of the screen. Then simply tap around the area you wish to encompass. If you want to get rid of the pins around your area, click the pin icon in the bottom right of the screen. To lock the area click on the bottom right of the screen, name it, then save it.
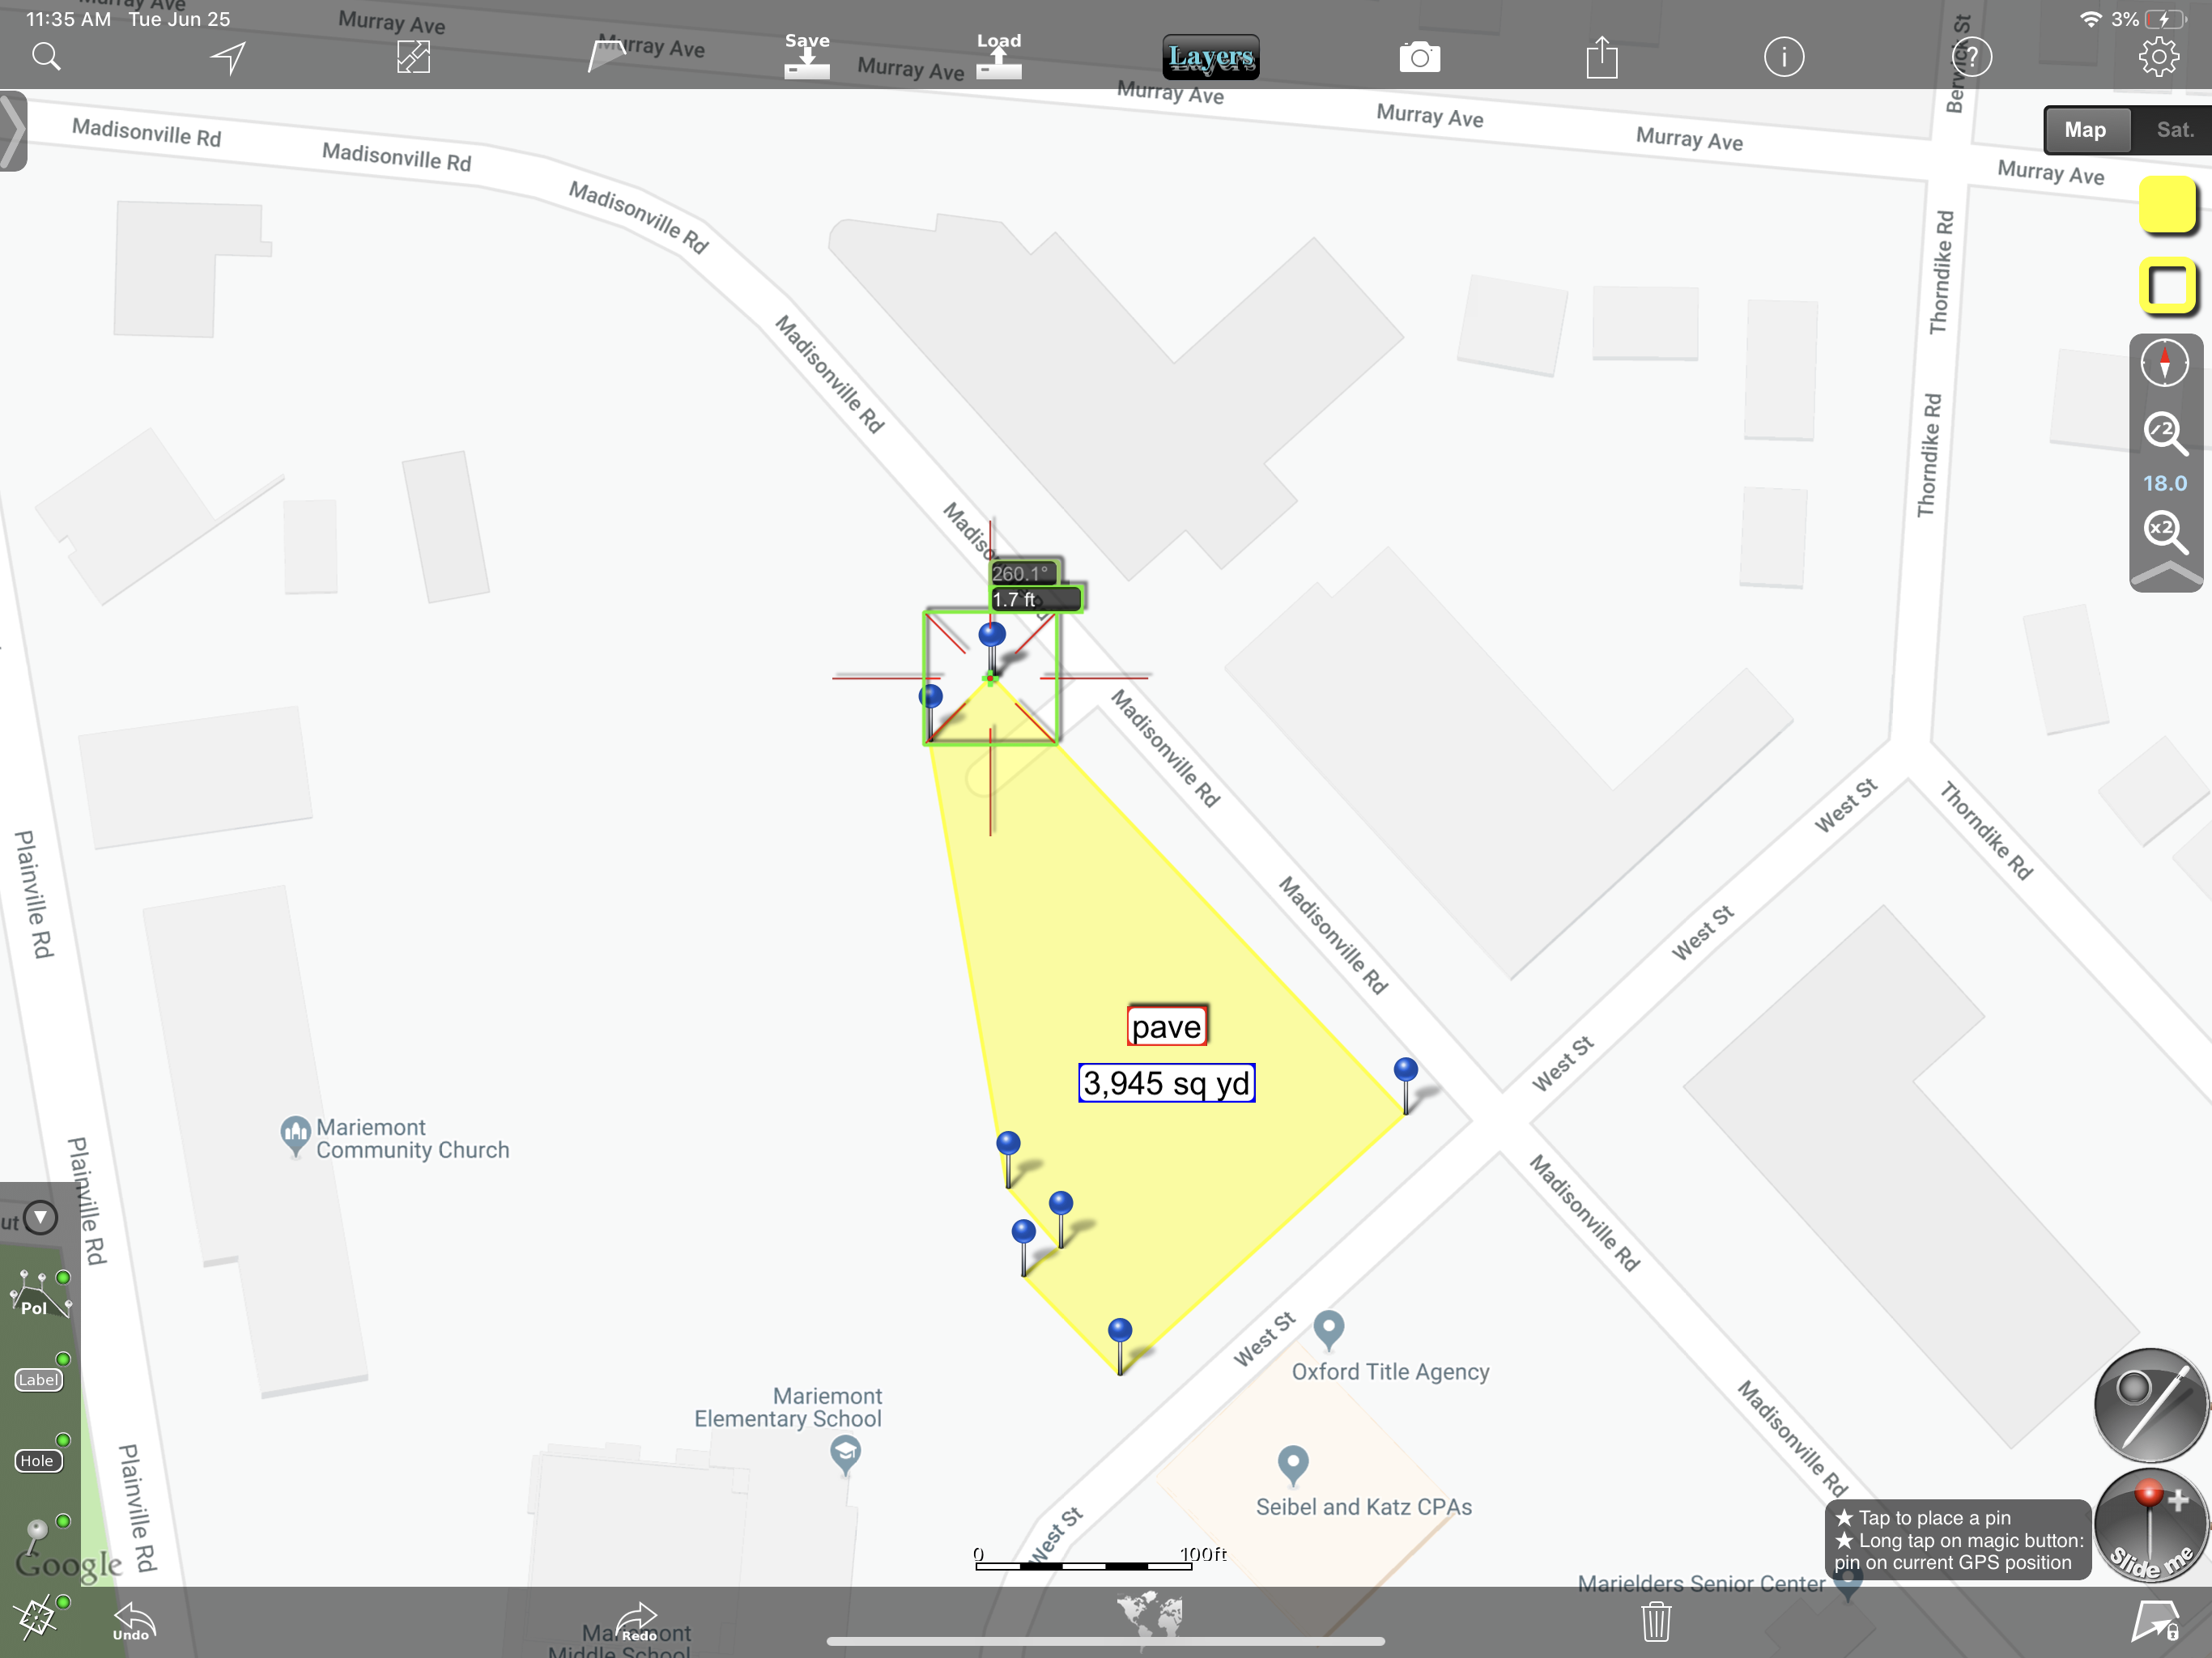
Next, I'll show you how to link your Wheelitoff to Pavement Layers. Click the Pavement Layers Button at the top of the screen. Add in your user name and password. You will now be signed in.
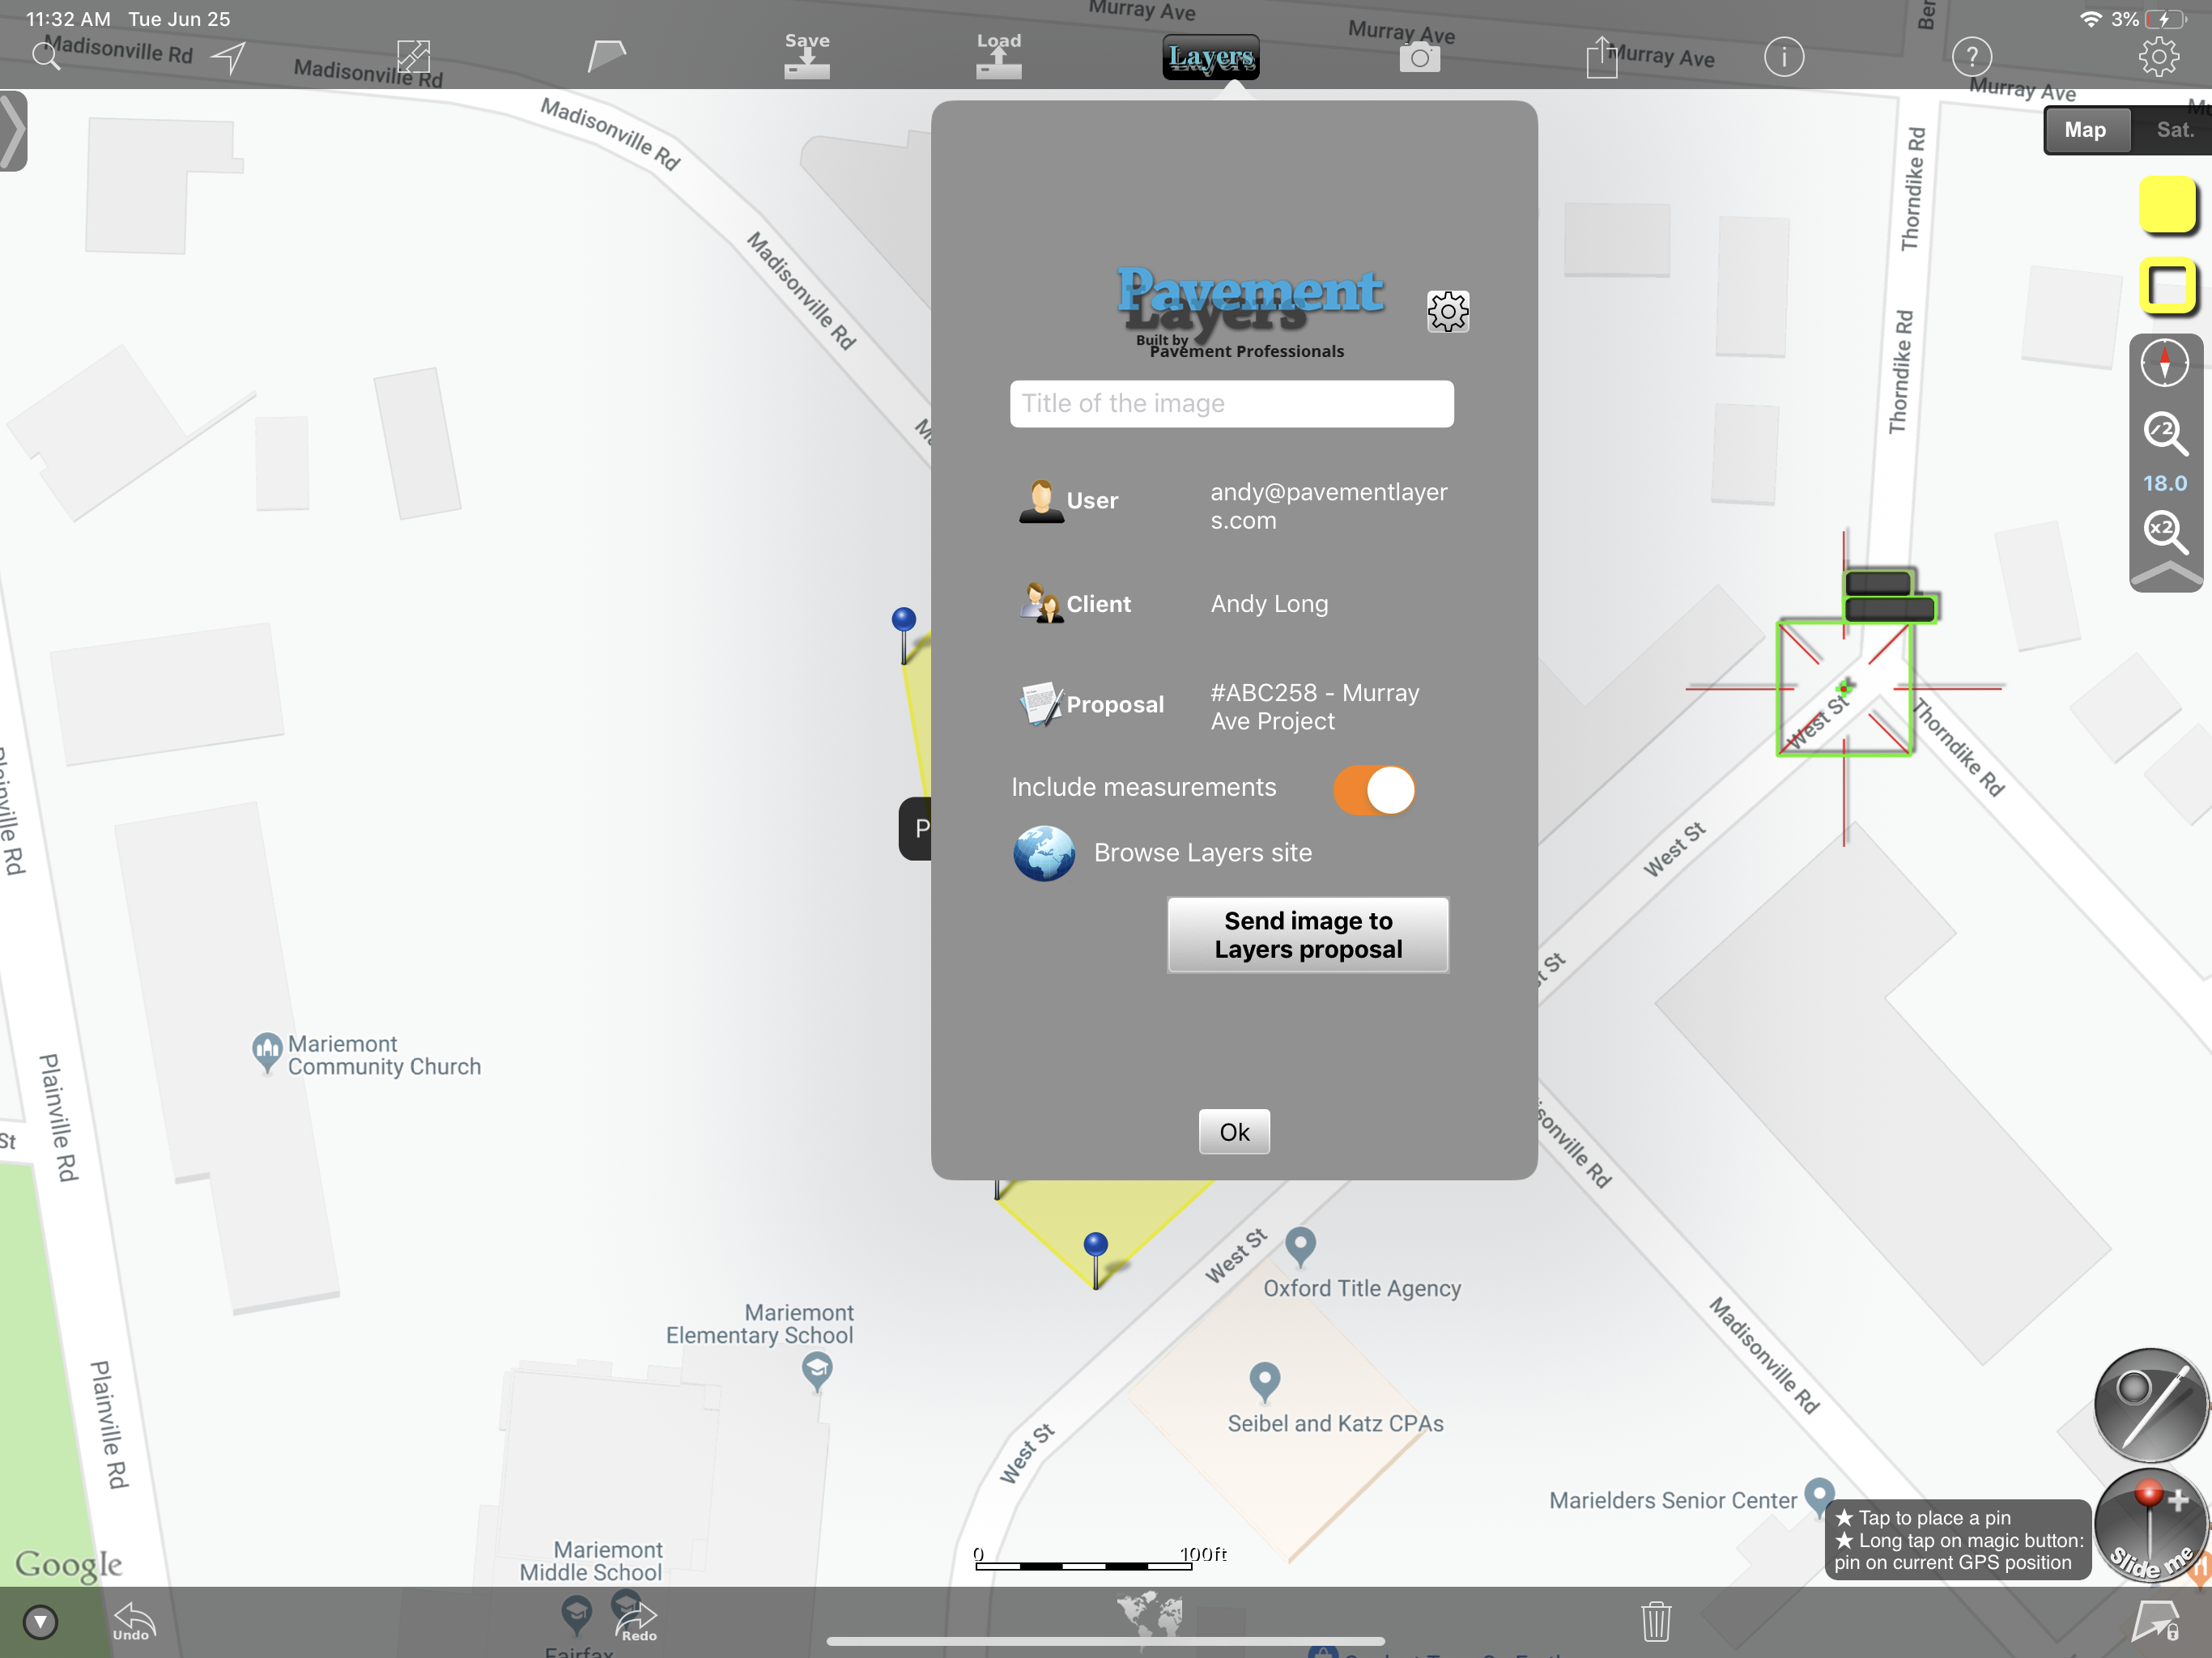
To send the image to Pavement Layer, you will need to give the image a title, select the client it's going to, then send it.